


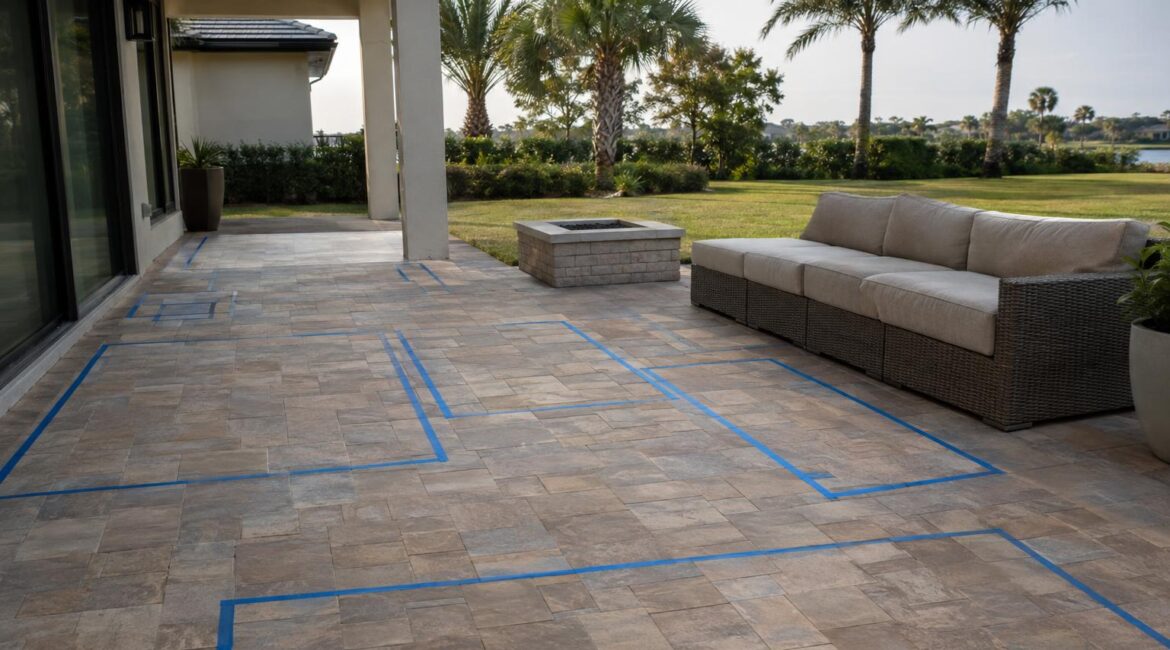
A tape measure tells you how big the patio is. It does not tell you how a sectional will feel in the space, whether you can still walk past the dining chairs, or whether the door will open. A painter’s tape patio layout answers those questions at full size before you order anything. You mark each piece’s footprint on the floor, live with it for a couple of days, and adjust while changes cost nothing but a few minutes.
Here we focus on the testing technique. If you still need your numbers, start with our walkthrough on how to measure your patio for new furniture and come back with them.
Why Tape Out a Layout at All
Numbers on paper are easy to misjudge. A table that sounds modest can feel enormous once chairs are pulled out, and a loveseat that looked generous in a catalog photo can look small under a lanai roof. Seeing the shape on your own floor, in your own light, removes most of the guesswork.
What a tape layout shows that a plan does not
- How much open floor is left once the pieces are down
- Whether the natural walking route from the door still works
- How the seating feels when you stand at the edge of it
- Whether a door, screen door or gate has room to swing
- How the arrangement looks from inside the house
It is a mock-up, not a measurement
Think of the tape as a rehearsal for the plan you already made. If the tape shows something that does not feel right, the answer is to move the tape, not to trust the drawing over your own eyes.
Gather Your Footprints and Supplies
You need a footprint for every piece you are considering, plus a few simple supplies.
Which pieces to tape
Start with the largest items, since they decide everything else: a sofa or sectional, the dining table with its chairs, a chaise, and an ottoman or coffee table. Smaller side tables can be added last if there is room. For lounge sets, tape the full seating group. For dining, tape the table and then mark where the chairs sit when someone is at the table.
Where the footprints come from
Ask your local showroom to confirm the footprint for the exact style you like, or use the maker’s listing if it has one. Write each footprint down next to the piece’s name.
Supplies
- Low-tack painter’s tape, a roll or two
- A tape measure and a pencil
- A few kitchen or folding chairs for sitting tests
- Cardboard boxes or bed sheets for height, if you want them
- Your phone for photos
Choose Tape That Suits Your Floor
Painter’s tape is designed to come off cleanly, but outdoor floors vary a lot, and no tape suits every surface. Test a small, out-of-the-way spot first and leave it for a day to see how it lifts.
Pavers, concrete and tile
Clean, dry concrete, pavers and tile are generally the easiest surfaces, though rough or dusty ones can keep tape from sticking. Sweep the area first so the tape grips. Wait for a dry day, since damp surfaces can make tape curl.
Wood decking and screened-room floors
Wood and painted or coated floors can react differently to adhesive, and weathered boards may splinter or lift when tape comes off. Test a small spot, choose the gentlest low-tack tape you can find, and take the tape up when you are done rather than leaving it for weeks.
Cardboard and sheets as a backup
If tape will not stick or you would rather not use it, lay flattened cardboard or fold bed sheets to the footprint size. These also work well for low-slung shapes, and you can stack boxes to stand in for the height of a sofa back or a tall storage piece.
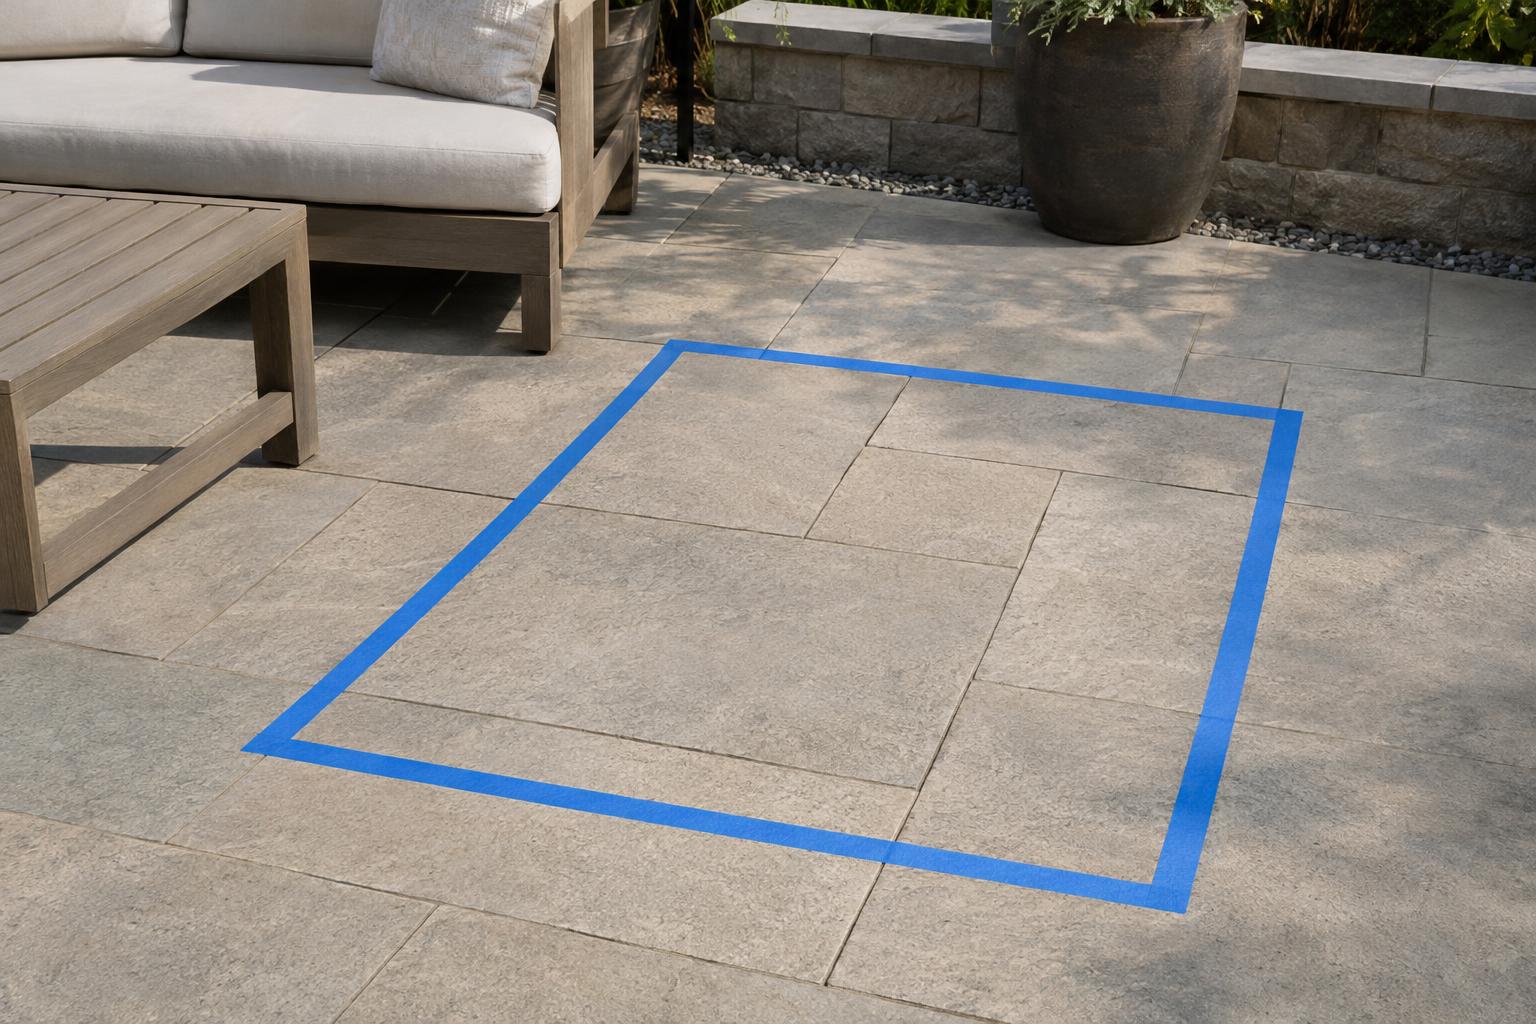
Build Your Painter’s Tape Patio Layout Step by Step
Work from the biggest piece to the smallest, and keep the tape lines straight and square.
Mark the footprints
Lay the first piece’s outline on the floor with tape, using the footprint you wrote down. Add the next piece, keeping the gaps you planned. For a dining set, mark the table, then add a second outline a comfortable push-back distance outside it for the chairs. For distances between a table, a wall and a railing, our guide to outdoor dining set spacing near a wall or railing explains how that clearance works.
Add door swings and pull-out space
Tape an arc where a door swings open, and mark the space a sliding door, screen door or storage bench needs. A planning rule of thumb is to keep these zones clear of furniture, then confirm against your actual doors.
Tape the paths
Mark the routes people will take, such as from the back door to the yard or from the dining area to the yard gate. If you cannot walk the path comfortably carrying a plate or a pitcher, the layout is too tight. A planning rule of thumb is to leave enough width for two people to pass, but confirm on your own patio by actually doing it.
Sit, Stand and Walk It
This is where the method earns its keep. Do not just look at the tape. Use it.
Place chairs at the seat positions
Set a kitchen or folding chair at each seat position of the sectional or sofa. Sit in them. Check whether you can reach the table, see the others, and get up without bumping into something. For the dining set, pull the chairs out as if people were standing up from dinner and see whether they clear the wall or railing.
Test the height with boxes or sheets
If a tall sofa back or a large umbrella might block a view, stack boxes or hang a sheet from a chair back to approximate it. Then check the view from the kitchen window.
Walk it in different conditions
Walk the layout in the morning, at midday and in the evening. Sun and shade shift through the day and the seasons, as UF/IFAS notes in its guide to landscaping in Florida shade, so a spot that is comfortable at 9 a.m. may feel very different later.
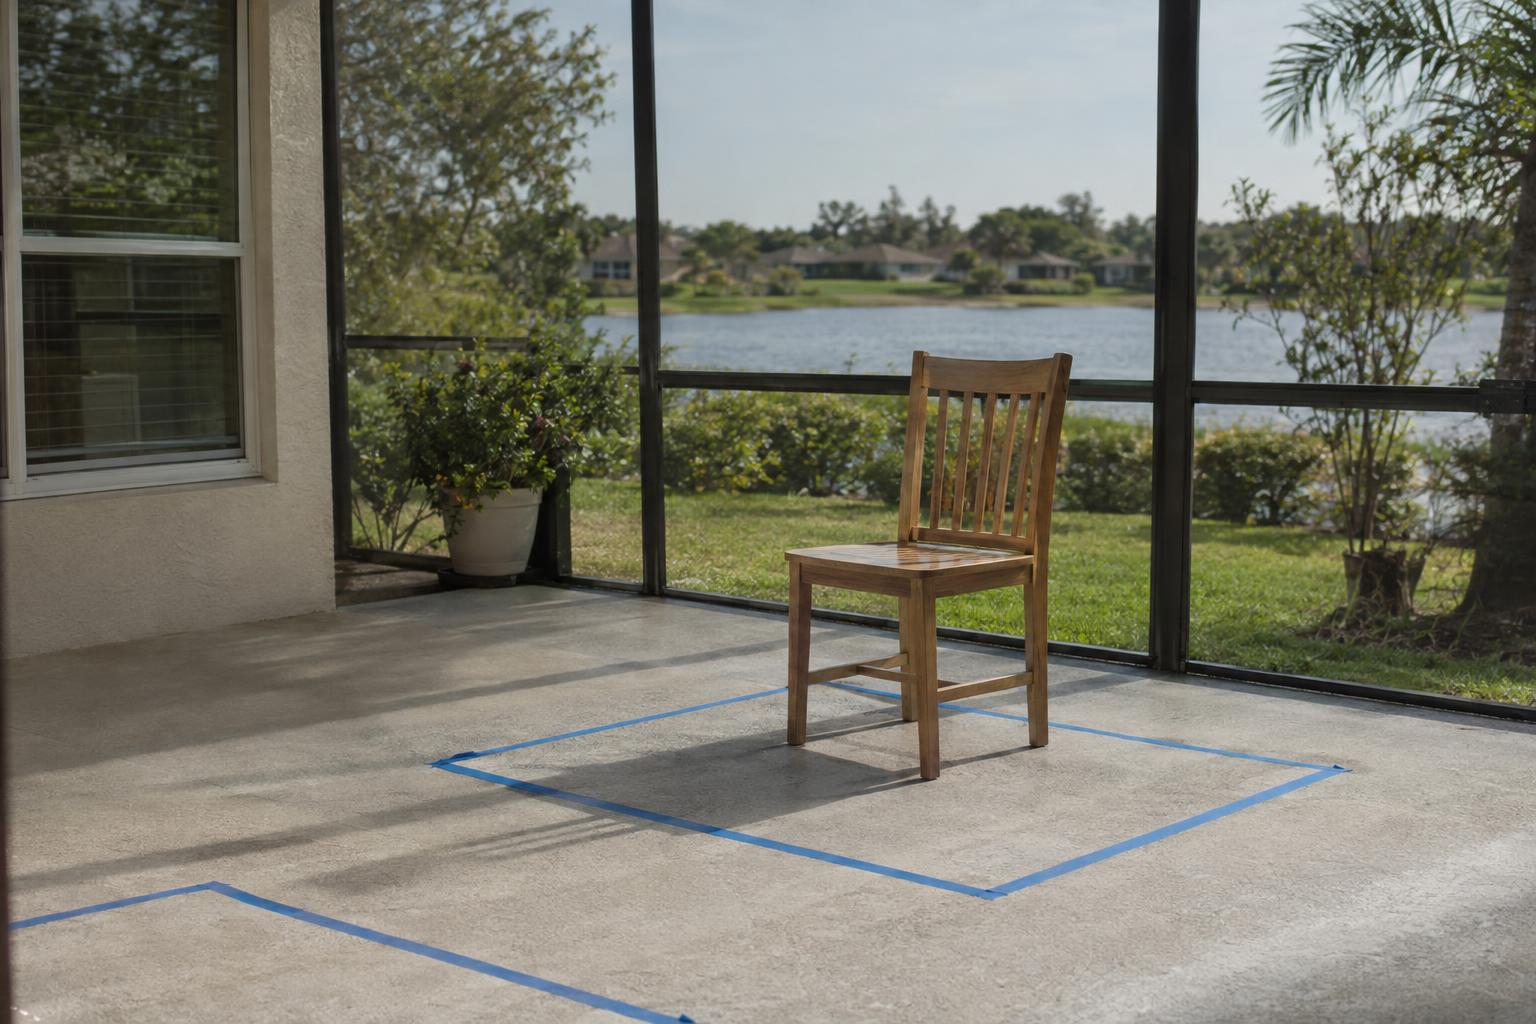
Leave It Up, Then Look From the House
Leave the tape down for a day or two if the weather allows. Real life shows up fast, such as a corner people trip on or a route that is suddenly too narrow.
Look from where you will see it most
Stand at the kitchen sink, the sofa inside and the back door, and look out at the layout. The view from the house is the one you will see most, so it should please you.
Adjust before you decide
Move the tape. Slide the sectional, turn the table or drop the ottoman. Each change takes a minute. For ideas on where zones for dining and lounging can go, our guide on arranging patio furniture for comfort and flow offers layouts worth trying with the tape, and the essential measurements for an outdoor furniture layout is a useful reference for the numbers behind them.
Take the Tape Layout to the Showroom
When the layout feels right, photograph it from a few angles, including one from the house and one from the main seat.
What to bring
- Photos of the taped layout from several angles
- Your footprint list and the overall patio size
- A note of any tight spots, door swings or railings
Bring your list to a Palm Casual showroom and ask about the styles you like. Ask what is available to view. When you are done, peel the tape up promptly and check the floor for leftover residue.
Frequently Asked Questions
What if the layout looks too small once it is taped?
That is useful to learn before ordering. Try tape outlines for a smaller sofa or a round table in place of a rectangular one, or drop the ottoman and see whether the space opens up. Bring the photos to your showroom to talk through options.
What if the tape will not stay on my patio floor?
Dust, damp and rough texture are the usual culprits, so a sweep and a dry day often help. If the tape still lifts, a rope or garden hose laid along the outline can stand in until you decide.
Can I tape out a layout on a screened lanai?
Yes, and it works well there because the room is defined and walls and screen doors are easy to see. Test a small spot of the floor first, and mark the space screen doors need to open.
How do I tape a round or curved table?
Tie a pencil to a length of string, hold the other end at the center point and mark the circle on the floor, then trace it with tape. Outline the chairs as a second, larger ring.
When your layout feels right, bring your photos and notes to a Palm Casual showroom or call (407) 299-9188 to talk through the next step.
Explore Palm Casual
Factory-direct pricing with a risk-free 30-day trial. Visit a showroom or call (407) 299-9188.
Explore Our Buying Guides
Looking for expert advice? Read our Complete Guide to Patio Furniture in Florida or Ultimate Guide to Outdoor Furniture in Florida for tips on materials, maintenance, and choosing the right set for your space.
